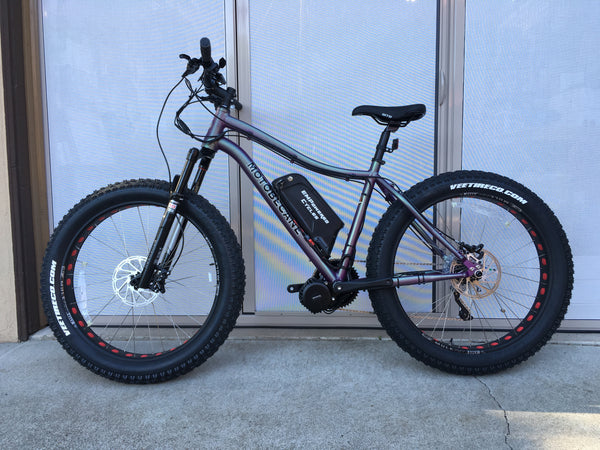
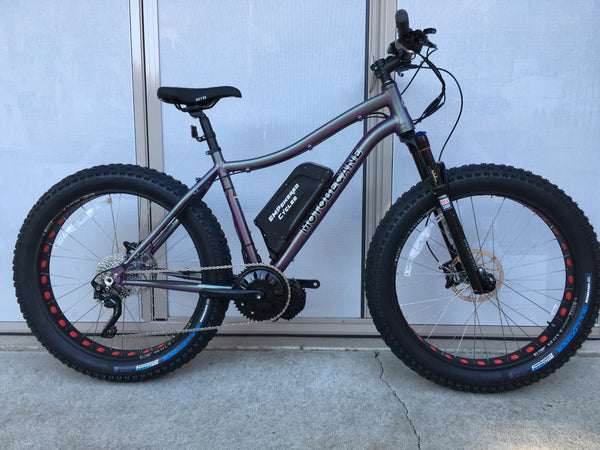
Bikesdirect.com has become popular for their good deals on Fat bikes. They range from entry level 700$ ish range up to 1500$ + for nicer models with upgraded components. For those interested in adding a BBSHD to one of these Fat bikes, I highly recommend you spend the extra money on a model that has through axle hubs with sealed bearings. Sealed hubs hold up to the extra torque and higher speeds and overall mileage ebikes see compared to loose ball bearing hubs on the lower priced models. Hubs with loose bearings will eventually need to be replaced entirely at some point however, sealed hubs have cartridges that are easily replaced and the hub is spared. The Boris the Evil Brut model comes with sealed through axle hubs and also comes equipped with a 10 speed rear cassette, excellent for a mid drive system. For higher success of battery placement, 17 inch frames are recommended, this build is a 19 inch frame. This frame accepts the 100mm version of the BBSHD. Some bikesdirect Fat bikes like the Lurch and the Night Train bullet require a 120mm BBSHD motor due to wider chain stays.
Please excuse the poor cell phone "get r done" photos. I only have so much time in a day.
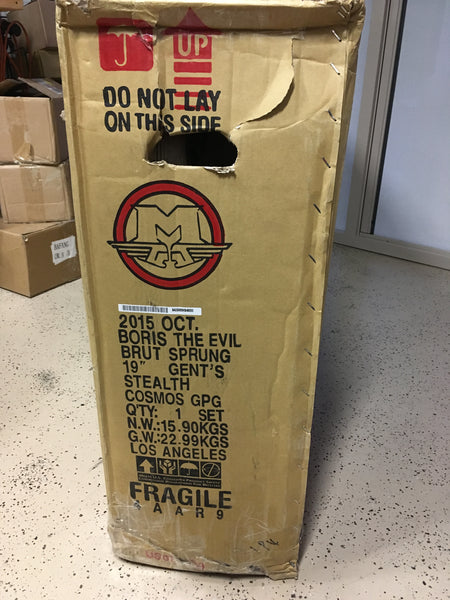
Here is the box, this is what you will receive.
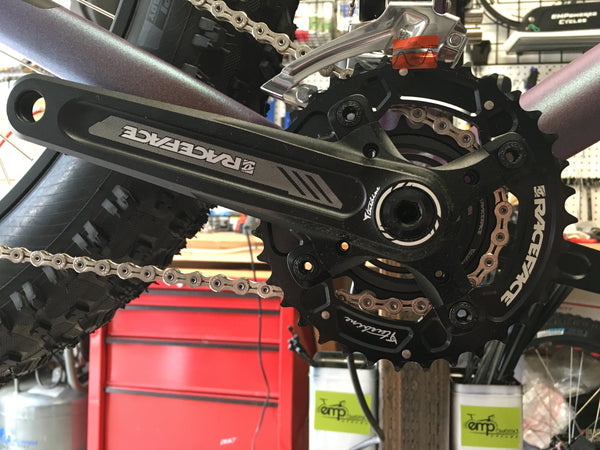
Sorry the picture is sideways, been messing with it for awhile, can't figure out why, moving on. Ok, lets start by pulling out the crank set.
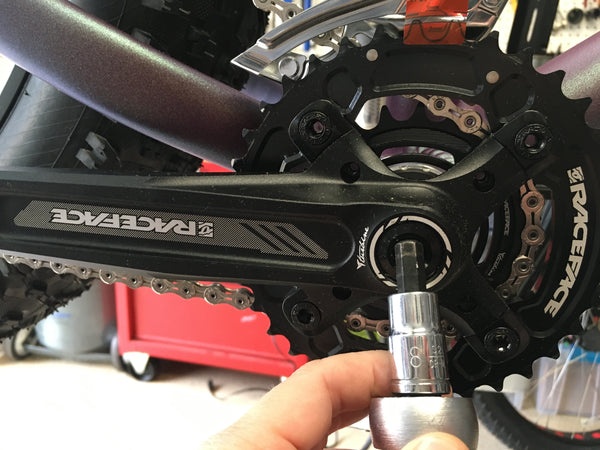
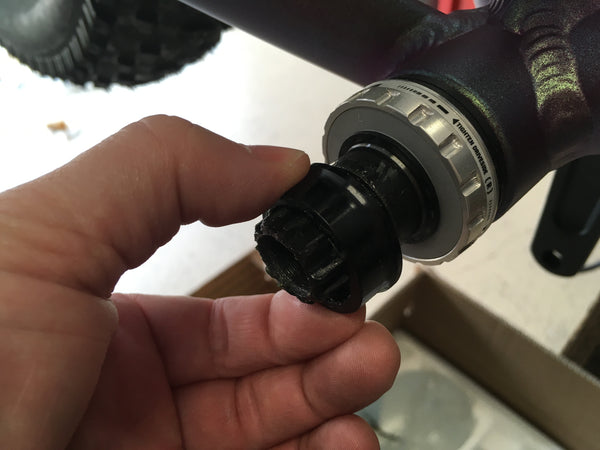
You will need a # 8 allen socket.
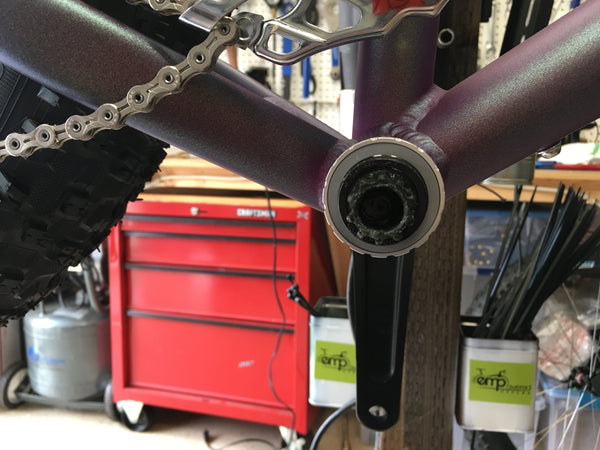
No crank puller needed. The drive side comes off easily.
Remove spacer.
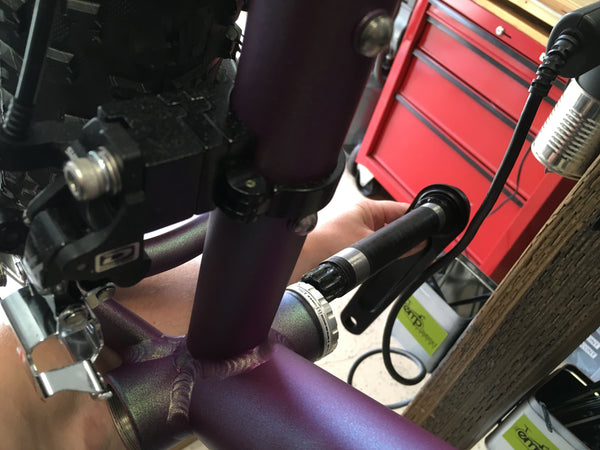
Lets remove the external bearing on the drive side. Park tool BBT-9. Very important!! Drive side is REVERSE THREADED, righty loosey , turn to the right to loosen. It may be very tight and require a lot of force.
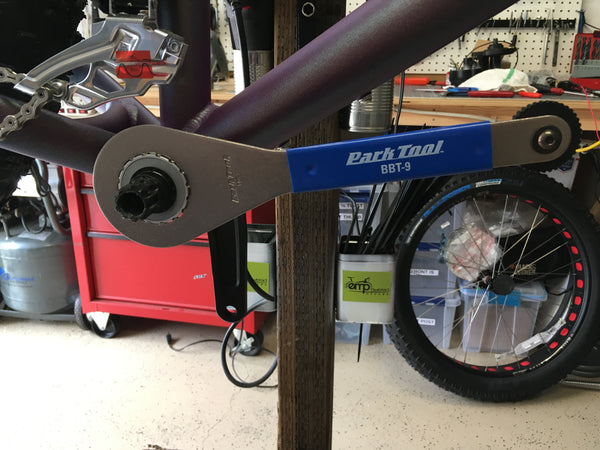
Continue turning to the right until it comes out completely.
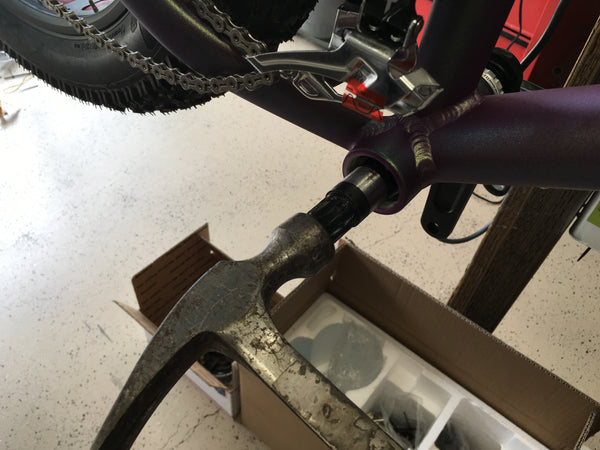
Gently tap the spindle toward the non drive side.
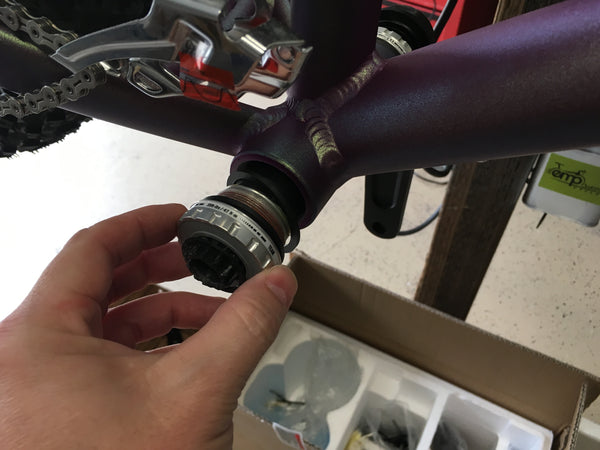
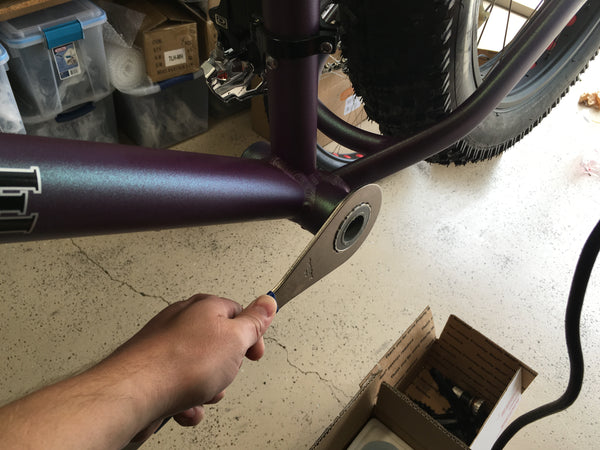
Next remove the external bearing on the non drive side. This one is regular threaded, lefty loosey.
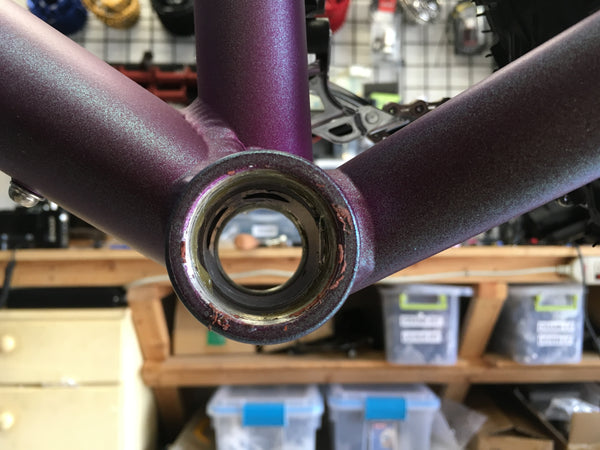
Here is the empty shell ready to install the bafang BBSHD 100mm motor. Sometimes there may be burrs or slight deformities inside the shell from the welds. If this happens you will know because the motor will get caught when trying to push it through. Use a round file to clean any burrs or deformities.
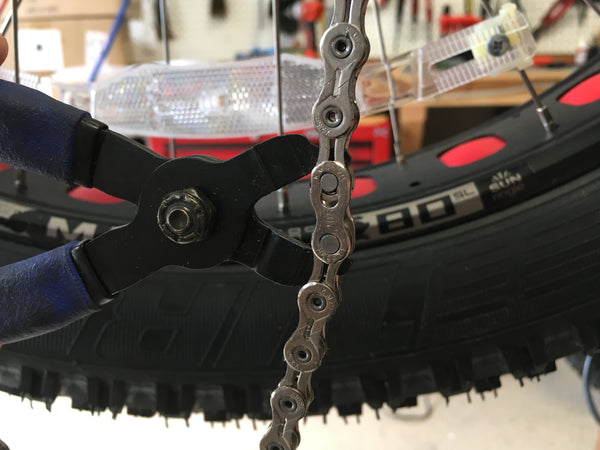
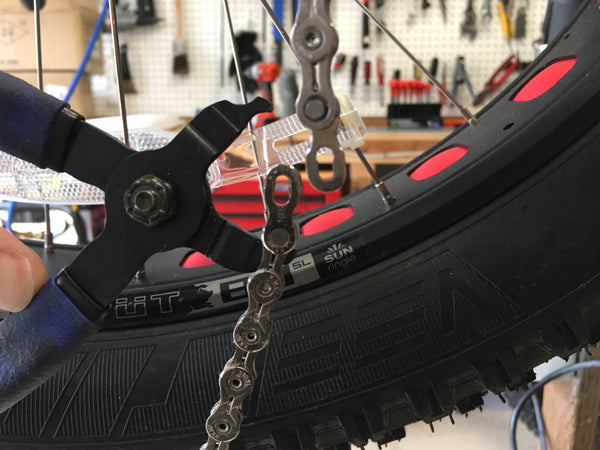
We will not be using the front deraileur and need to remove it. The chain runs through the deraileur and needs to be unlinked for removal. This chain has a power link so you can easily open the chain.
You can use needle nose pliers or your fingers to do this, but if you do this regularly the Park Tool MLP-1.2 makes it much easier to open and close these links.
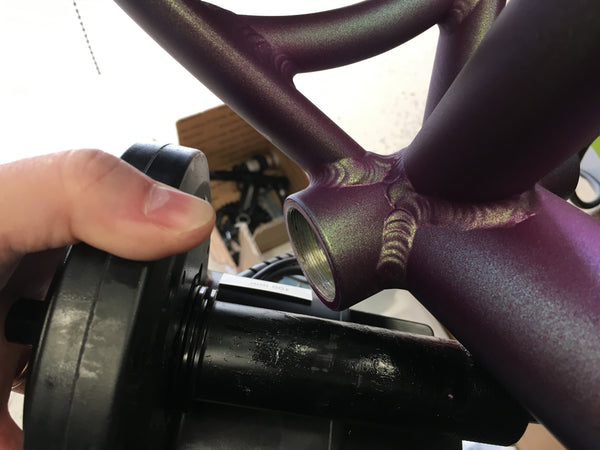
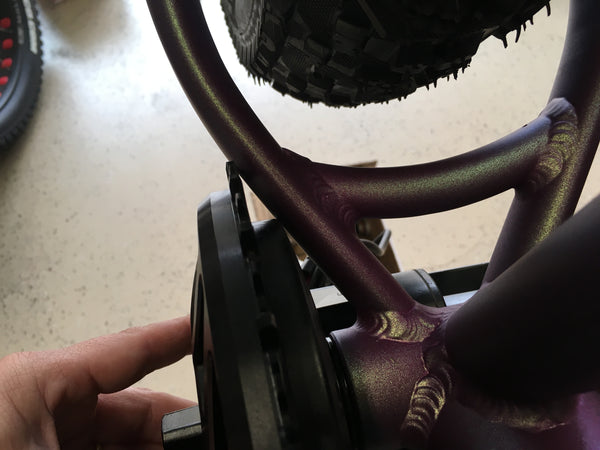
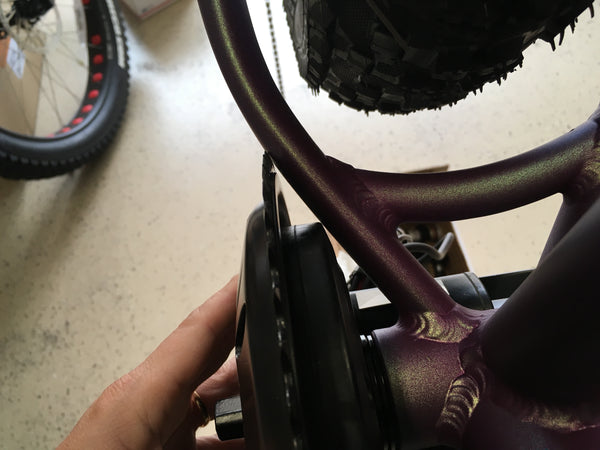
With the front deraileur removed and out of the way, we can install the BBSHD. Uh Oh! The motor touches the chain stay before inserting all the way against the bottom bracket shell. See in the photo below where the motor is touching the rear chain stay of the frame? See the gap between the motor and the bottom bracket shell?
No to worry, all you need is a few bottom bracket spacers like these.
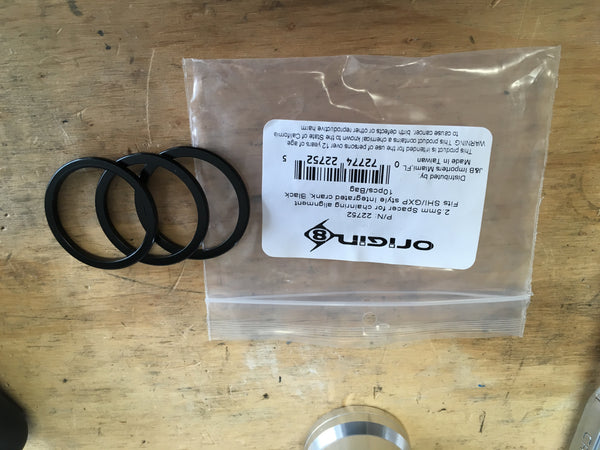
We will need 3 of these 2.5mm bottom bracket spacers to fill the gap between the motor and the shell.
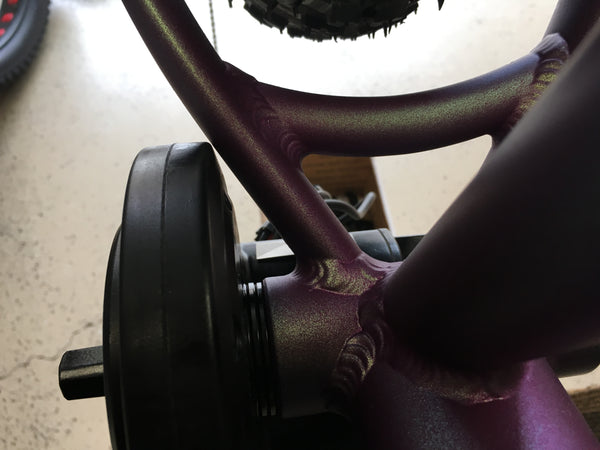
Below you can see the 3 spacers keep the motor from just barely touching the rear chain stay. The less gap the better in regards to optimal chain line.
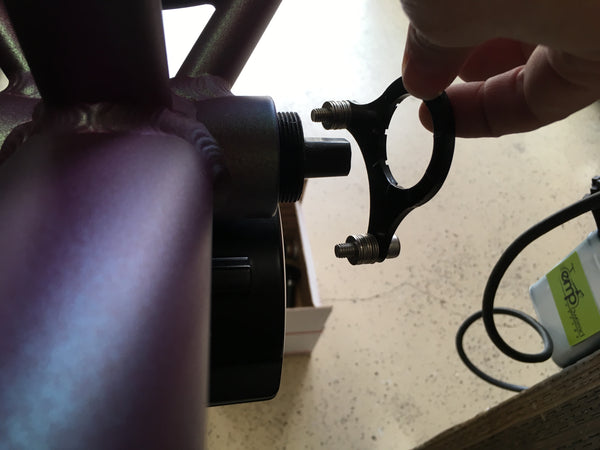
Install the fixing plate on the non drive side. Be sure the raised notches on the fixing plate point in toward the bottom bracket shell face. It helps to put spacers on the fixing plate bolts at the same time. In this case we used 9 washers. 7.5mm of bottom bracket spacers on the drive side compensated by 9 washers stacked to approx 7.5mm on the non drive side.
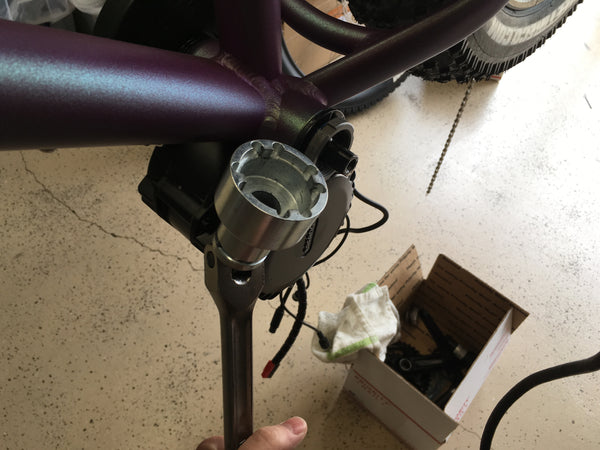
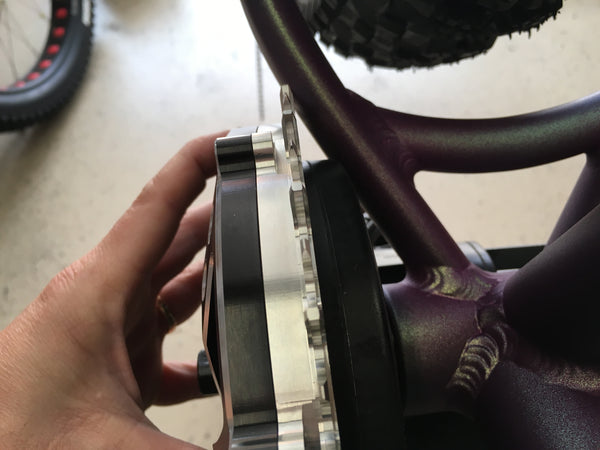
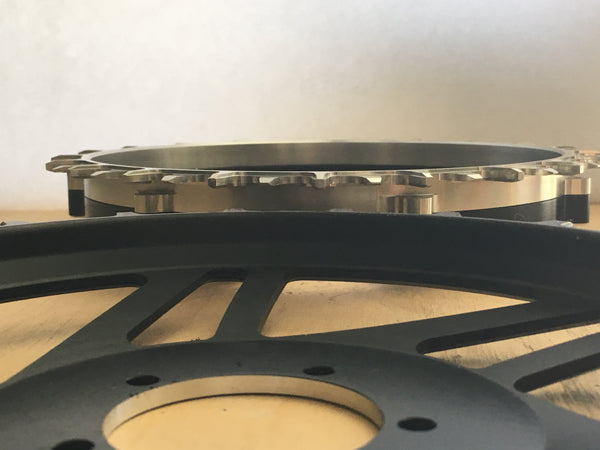
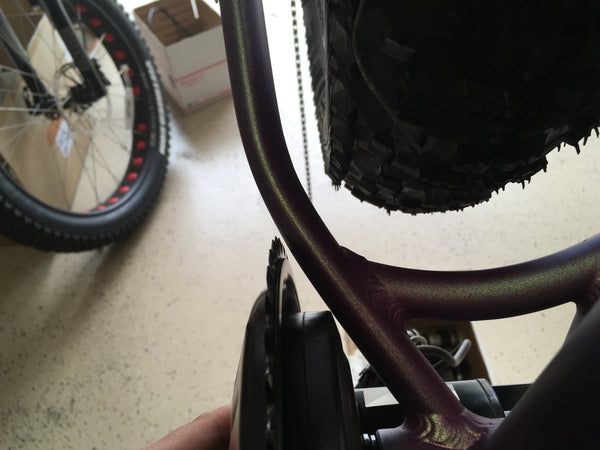
The most crucial part of the installation is getting the 4 notch M33 lock ring tightened properly with the motor positioned upwards against the frame of the tube. When the motor spins forward it relies on the frame to push against to counter the torque. The fixing plate needs to be tightened up flush against the shell face by tightening the lock ring properly and this hold the motor up in the correct position. You really need to snug down the M33 lock ring well and I recommend loctite as well. The best thing for this job is the M33 sockets made exactly for this. Many installations have issues with the motor moving around because they failed to tighten properly with channel locks or pliers.
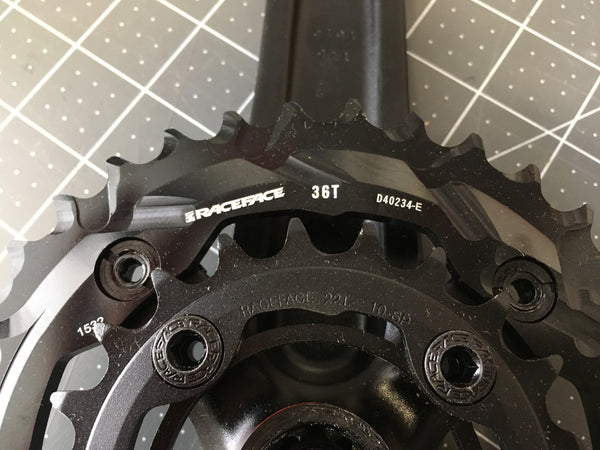
Now we need to install a chain ring. I have 3 to choose from. The stock 46 tooth, the 42 tooth Lekkie HD bling ring, and the Luna ring. In the below photos none of the chain rings can bolt to the motor without touching the chain stay. We need to install a spacer between the chain ring and the motor. The stock ring and the Lekkie only need one 2mm spacer to clear the chain stay. The Luna with its extra thick body, too deep dishing, and extra long teeth (intended to hold chain, but increase the diameter and circumference) require five 2mm spacers (that's 10mm of spacers!) and extra long bolts. For fat bikes with wide chain stays I would avoid the Luna ring, it creates more problems than it solves. I can imagine further fitment issues on different style bikes with this chain ring and would go with the Lekkie hands down. The Lekkie is just a better product mechanically, looks better IMO, and costs less.
Lekkie HD ring touching chain stay
Stock 46 tooth ring touching chain stay
The hefty and bulky Luna ring, furthest from being able to fit.
It is pretty obvious that this a much bigger solution than it needs to be and causes installation issues. Below is a photo comparing the dish of the Luna to the dish of the Lekkie. The luna is too deep.
Here are the chain ring spacers below. Only one is needed for the stock or the Lekkie. 5 spacers are required for the Luna ring.

Below you can see the chain ring does not touch the chain stay now with one 2mm spacer.
Now lets talk about chain length. The chain length was perfect for the original 36 tooth sprocket that was installed, but now we have a larger 46 tooth chain ring for example. That is a difference of + 10 teeth. We need to lengthen the chain. How many links do we add? Since the chain is only on 1/2 of the chain ring at a time.... we need 5 links (always half the amount of teeth you gain or loose). You can't add links in odd numbers, so we are stuck with adding either 4 or 6 links. I added 6 and it was perfect.
Any chain tool can break a chain, but not all can press them back without breaking them! My favorite chain tool is Park Tool CT 4.3

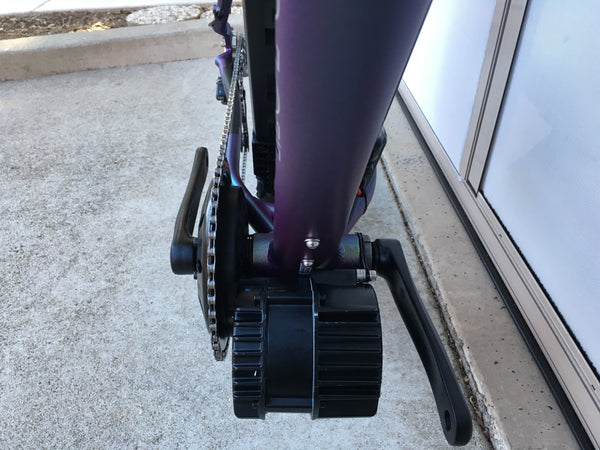
Here is what the motor looks like installed from the bottom side with a beautiful chain line.
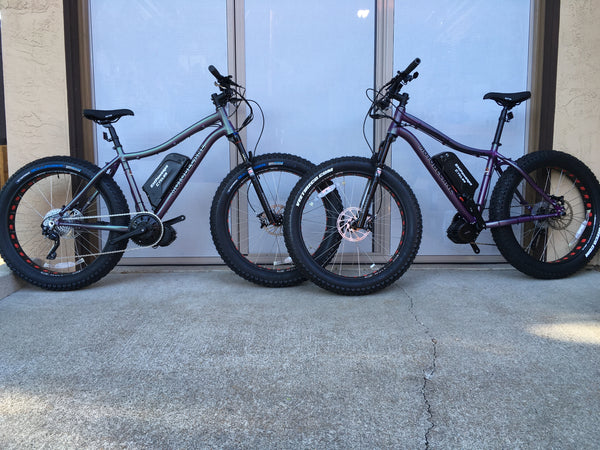
The customers originally went with the stock HD rings, but upgraded to the red Lekkie HD bling ring before taking their bikes home. Forgot to get picture before they loaded up.


